 RafaSC
Toon and cel shading
Cel shading with a post process in UE5: how it works and where it breaks
A post-process cel shader in Unreal Engine 5 runs after the scene is rendered. It reads the G-Buffer of the frame and redraws the light as flat bands, then adds ink lines. It can restyle a whole level without touching a single material, but it needs the deferred renderer and it has a few traps with exposure and Movie Render Queue.
By RafaSC, 3D and technical artist · Updated · 7 min read
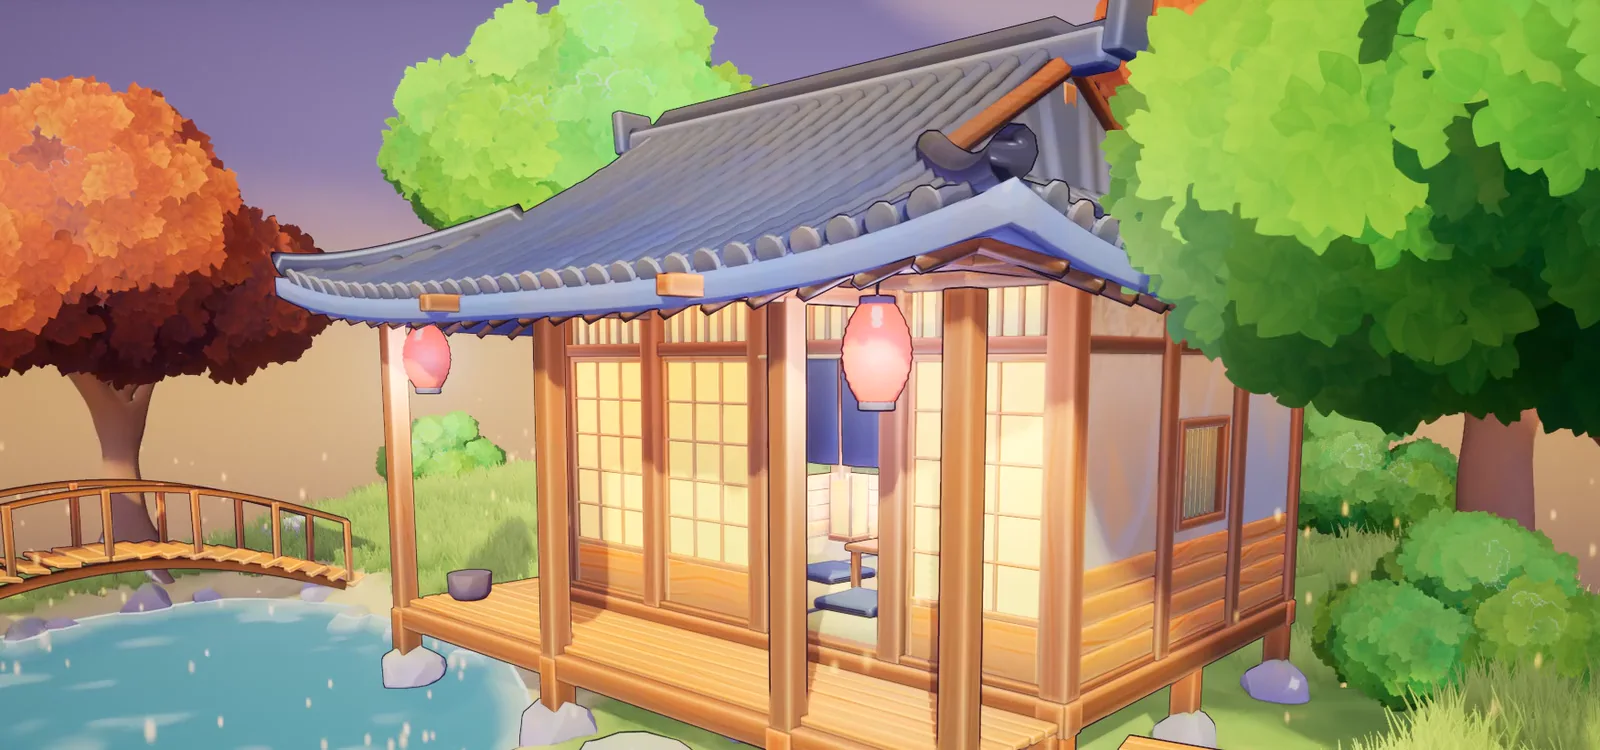
What a post process can and cannot do
It works on the finished frame, so it does not care who made the assets or how their materials are built. That is the reason to use one. The same fact sets its limits:
- Deferred renderer required. That is the Unreal default. The Forward renderer does not expose the G-Buffer to post process, so no post-process toon pack can work there.
- Made for stylized and low-poly scenes. On photoreal assets the change is subtler.
- Emissive and unlit materials are kept as they are, so lanterns, coloured lights and neon signs stay yours.
- Not for the Path Tracer or UEFN.
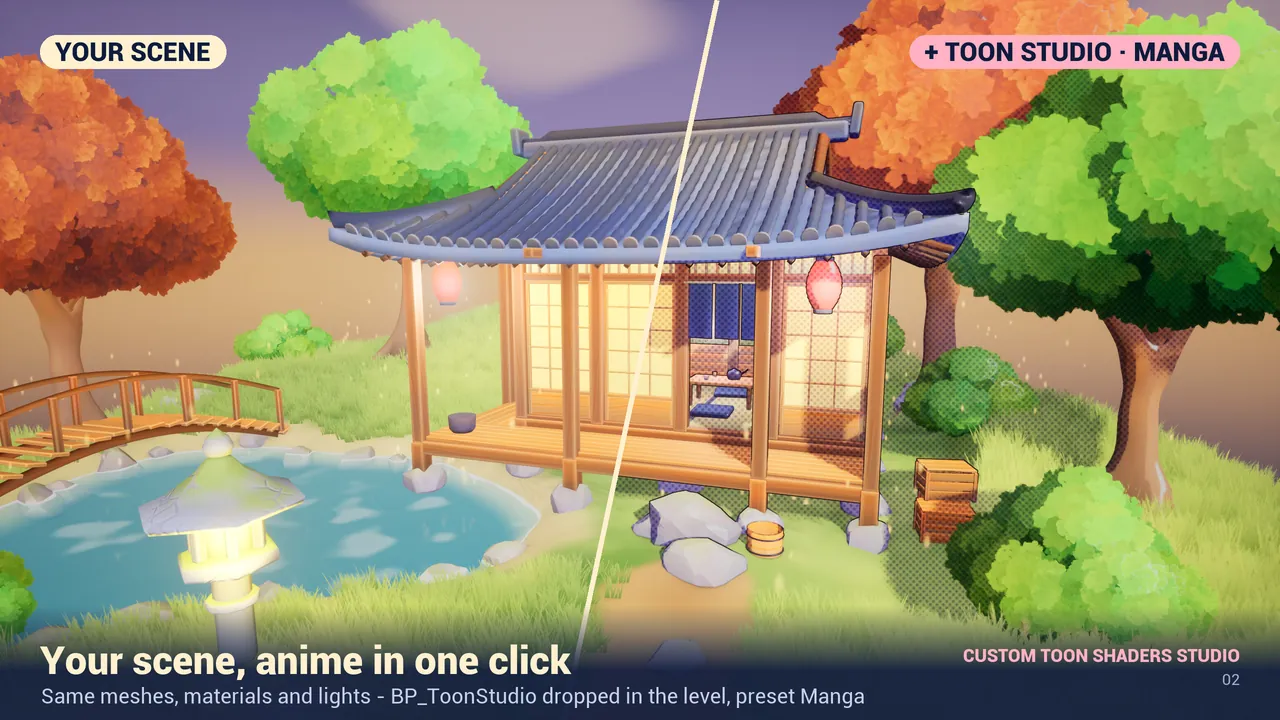
Toon bands that follow the sun
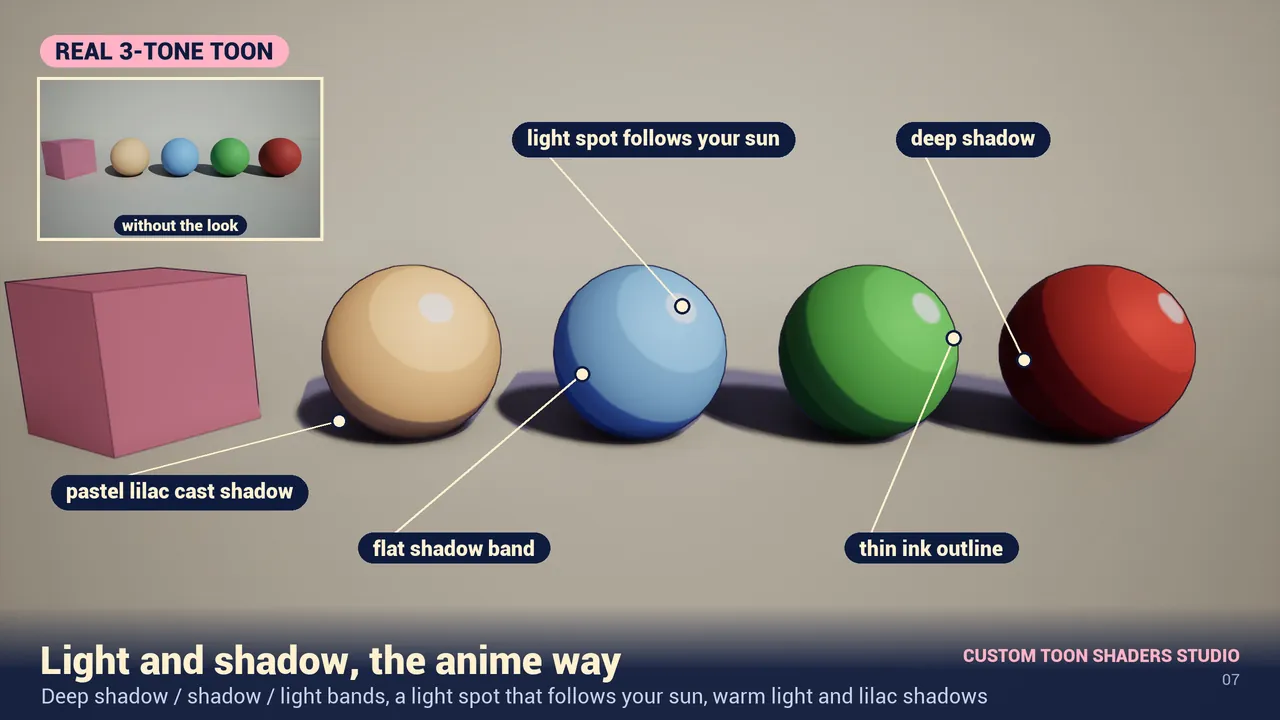
The light is reduced to flat tones that follow your Directional Light. In Custom Toon Shaders Studio the actor finds that light automatically. To see the bands follow the sun live while you rotate it in the editor, enable Atmosphere Sun Light on that light; it is on by default when the level has a Sky Atmosphere.
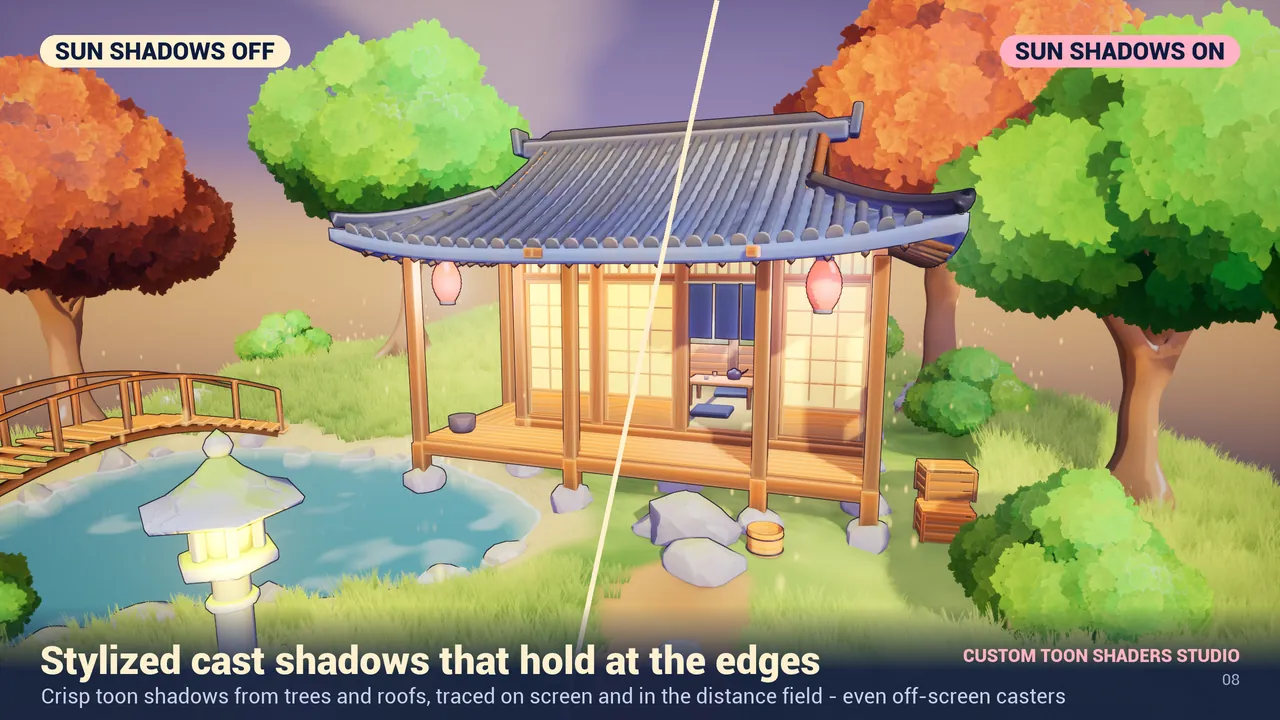
Cast shadows from things that are off screen
A screen-space effect only knows what is on screen. Stylized sun shadows that come from a tree canopy above the camera need another source: the Global Distance Field.
- Project Settings > Rendering > Generate Mesh Distance Fields = on. It is on in new projects that use Lumen with the Maximum scalability preset. Without it everything still works and shadows come only from what is visible.
- For thin or open meshes (roofs, single walls, merged kits) enable Generate Distance Field As If Two-Sided in the mesh build settings, or their shadow only exists while they are on screen.
Halftone and hatching that do not stretch
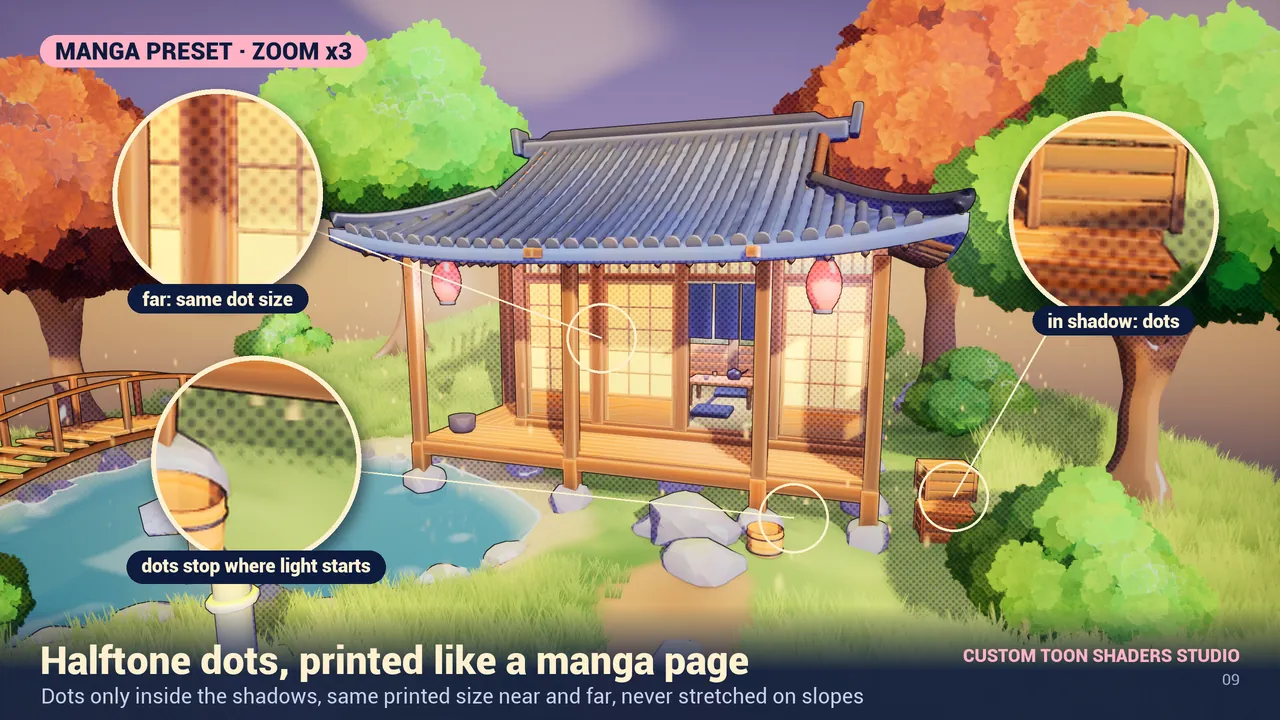
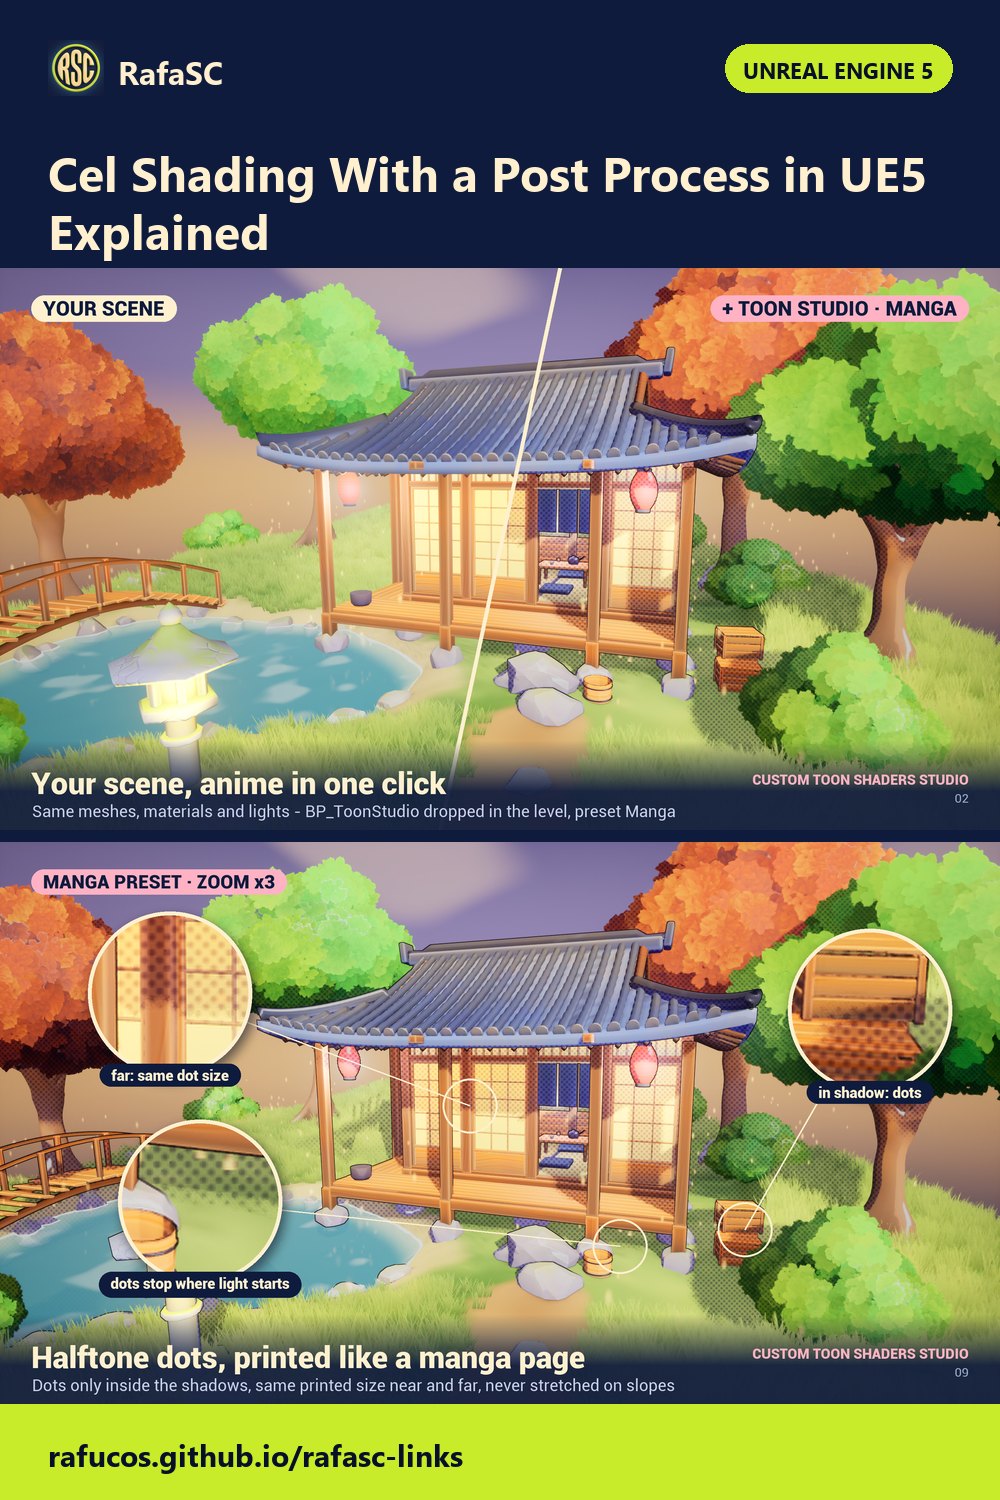
Dots and hatching are screen-space print patterns. They keep a constant printed size, never stretch on slopes and only appear inside real shadow bands. Paint and oil strokes are the opposite: they are anchored to the world so they do not swim when the camera moves.
Per-object control with Custom Depth Stencil
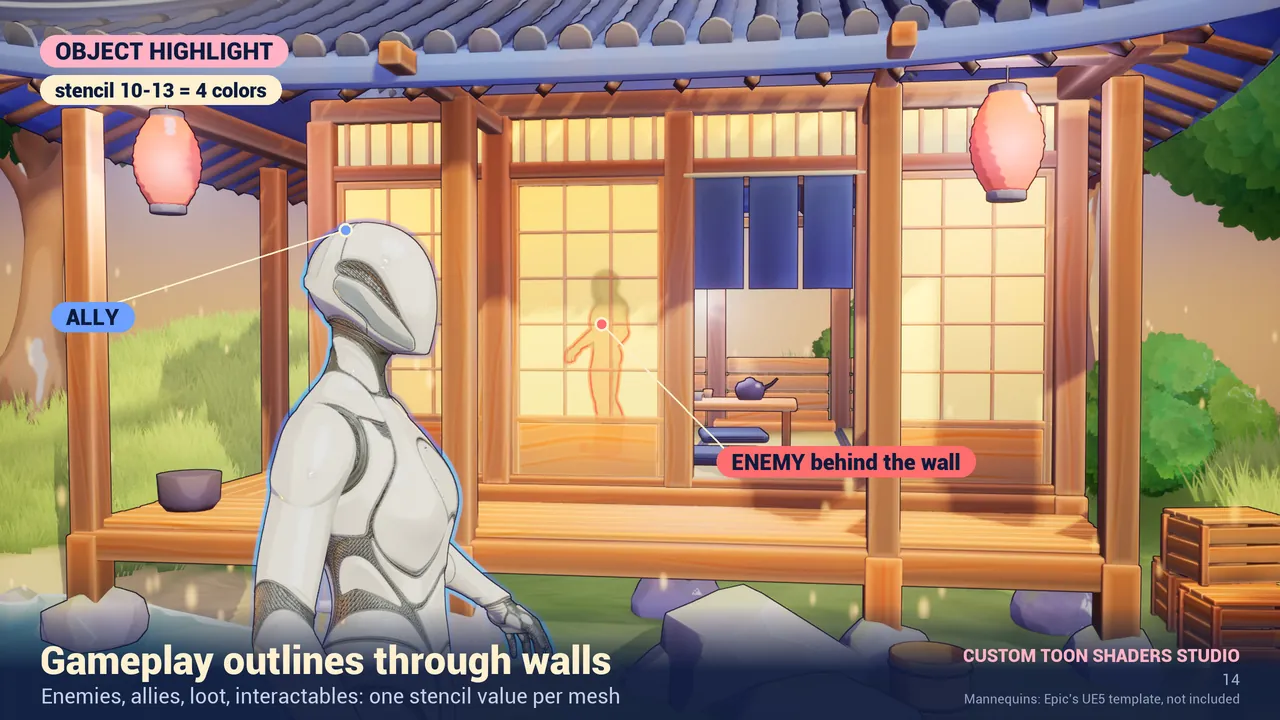
A post process treats every pixel the same unless you tell it otherwise. The standard way is Custom Depth: select a mesh, Details > Rendering > Render CustomDepth Pass = On, and set a CustomDepth Stencil Value.
| Stencil | Effect in Custom Toon Shaders Studio |
|---|---|
| 2 | Foliage and grass: no ink lines on it, and it takes the cast shadow of the ground it grows from |
| 3 | Colour accent: keeps its original colour in the ink and paper looks |
| 10, 11, 12, 13 | Object highlight outline in colour A, B, C or D. Shows through walls |
Three traps
- Auto exposure. Unreal measures exposure after post-process materials, so adding any post-process material can shift it a little. To compare fairly, use a split view or set the look amount to 0 instead of deleting the actor. For a fixed exposure set Exposure > Metering Mode = Manual.
- Movie Render Queue. MRQ renders post process in linear colour, unlike the viewport. With my pack, add the console variable
r.GeneralPurposeTweak2 = 3in your MRQ job (Settings > + Setting > Console Variables). Without it the looks that have a finishing pass come out lighter and colder. - Packaged games. Set Custom Depth-Stencil Pass = Enabled with Stencil in Project Settings > Rendering, so it is on from the first frame.
Switching looks at runtime
In a Blueprint, call Set Look (Index, Blend Time) on BP_ToonStudio to blend smoothly to another preset. Index is the order in the dropdown, starting at 0. It is meant for flashbacks, dream sequences, photo mode or a settings menu.
What it costs
Measured on an RTX 3080 at 1920x1080, one preset at a time:
| Preset | GPU cost |
|---|---|
| 13 Outline | 0.29 ms |
| 10 Sumi-e | 0.81 ms |
| 11 Sketch | 0.82 ms |
| 12 Pixel | 0.92 ms |
| 01 Toon | 1.02 ms |
| 02 Anime Soft, 03 Manga, 04 Comic | 1.04 ms |
| 08 Neon | 1.05 ms |
| 09 Moebius | 1.21 ms |
| 05 Ghibli | 1.55 ms |
| 06 Watercolor | 1.66 ms |
| 07 Painted Brush | 1.86 ms |
Quality 0 lowers the cost of the painted looks.
Unreal Engine 5.8 also ships its own toon shading inside Substrate, which works per material. See built-in toon shader vs post-process toon.
Frequently asked questions
Why does my post-process toon shader not work with the Forward renderer?
The Forward renderer does not expose the G-Buffer to post process. A post-process toon shader needs the deferred renderer, which is the Unreal default.
Why does the toon look come out different in Movie Render Queue?
MRQ renders post process in linear colour, unlike the viewport. With Custom Toon Shaders Studio, add the console variable r.GeneralPurposeTweak2 = 3 in the MRQ job.
Can I keep one object out of the toon effect?
Use Custom Depth Stencil. In Custom Toon Shaders Studio, stencil 3 keeps the original colour in the ink and paper looks, stencil 2 removes ink lines from foliage, and 10 to 13 add highlight outlines.
How expensive is a post-process cel shader?
For Custom Toon Shaders Studio, measured on an RTX 3080 at 1920x1080: 0.29 ms for Outline up to 1.86 ms for Painted Brush.
Related guides
Save this guide for later. Product used on this page: Custom Toon Shaders Studio.